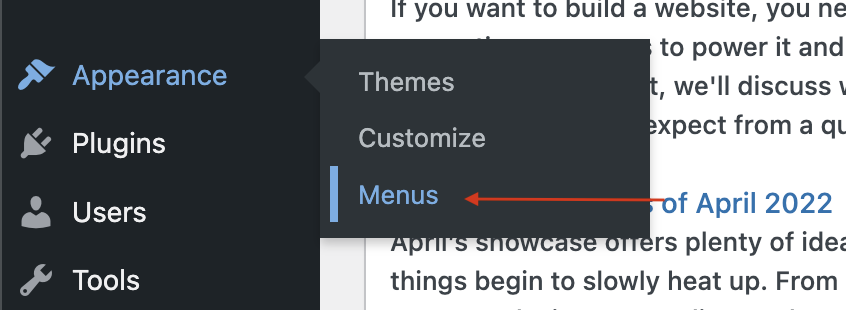
- Log in to your WordPress dashboard
- Select “Menus” from the drop-down menu under Appearances
- If you have more than one menu, find the menu you wish to edit in the dropdown box
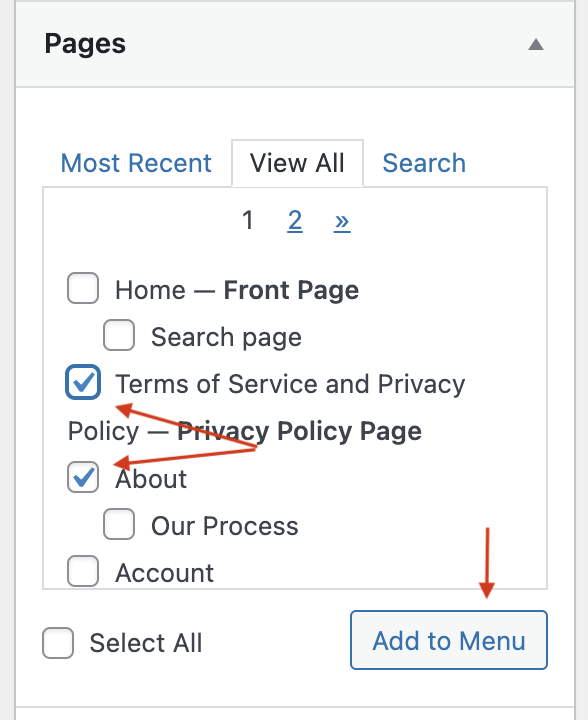
- Click the boxes for the pages you want to include in your new menu then click Add to Menu. Don’t forget to toggle to “View All” if you have several new pages you’re adding
- Drag the pages in your new menu so they’re arranged in the order that you want them to appear on your site, keeping in mind that you can make a page a Sub Item by pulling it to the right underneath its parent item – New pages are added to the end of the menu list, so be sure to scroll down to find them if you have a large menu.
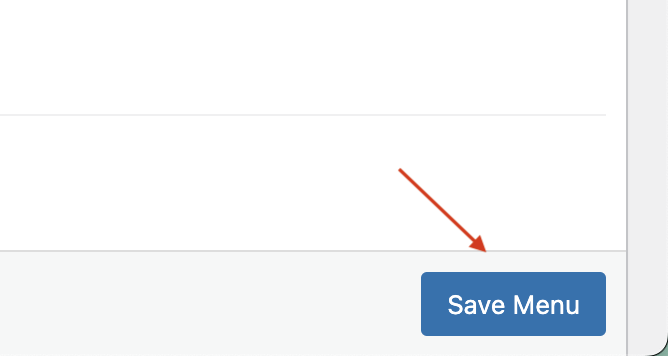
- Once you’re satisfied with your menu’s settings and order, click Save Menu


